Table of Contents
ToggleIntroduction
In an era where sustainable energy sources are becoming increasingly crucial, harnessing solar power stands out as a reliable and eco-friendly solution. While purchasing commercial solar panels is a common route, many individuals are turning to DIY solar panels as a cost-effective and empowering alternative. In this comprehensive guide, we will delve into the world of DIY solar panels, exploring the process from start to finish, including the benefits, steps, installation, maintenance, and optimization techniques.
Understanding Solar Energy
Solar energy is derived from the sun’s radiation, which reaches the Earth’s surface in the form of sunlight. This energy can be converted into electricity using photovoltaic (PV) cells, commonly known as solar cells. These cells are made from semiconductor materials, such as silicon, which generate electricity when exposed to sunlight through the photovoltaic effect.
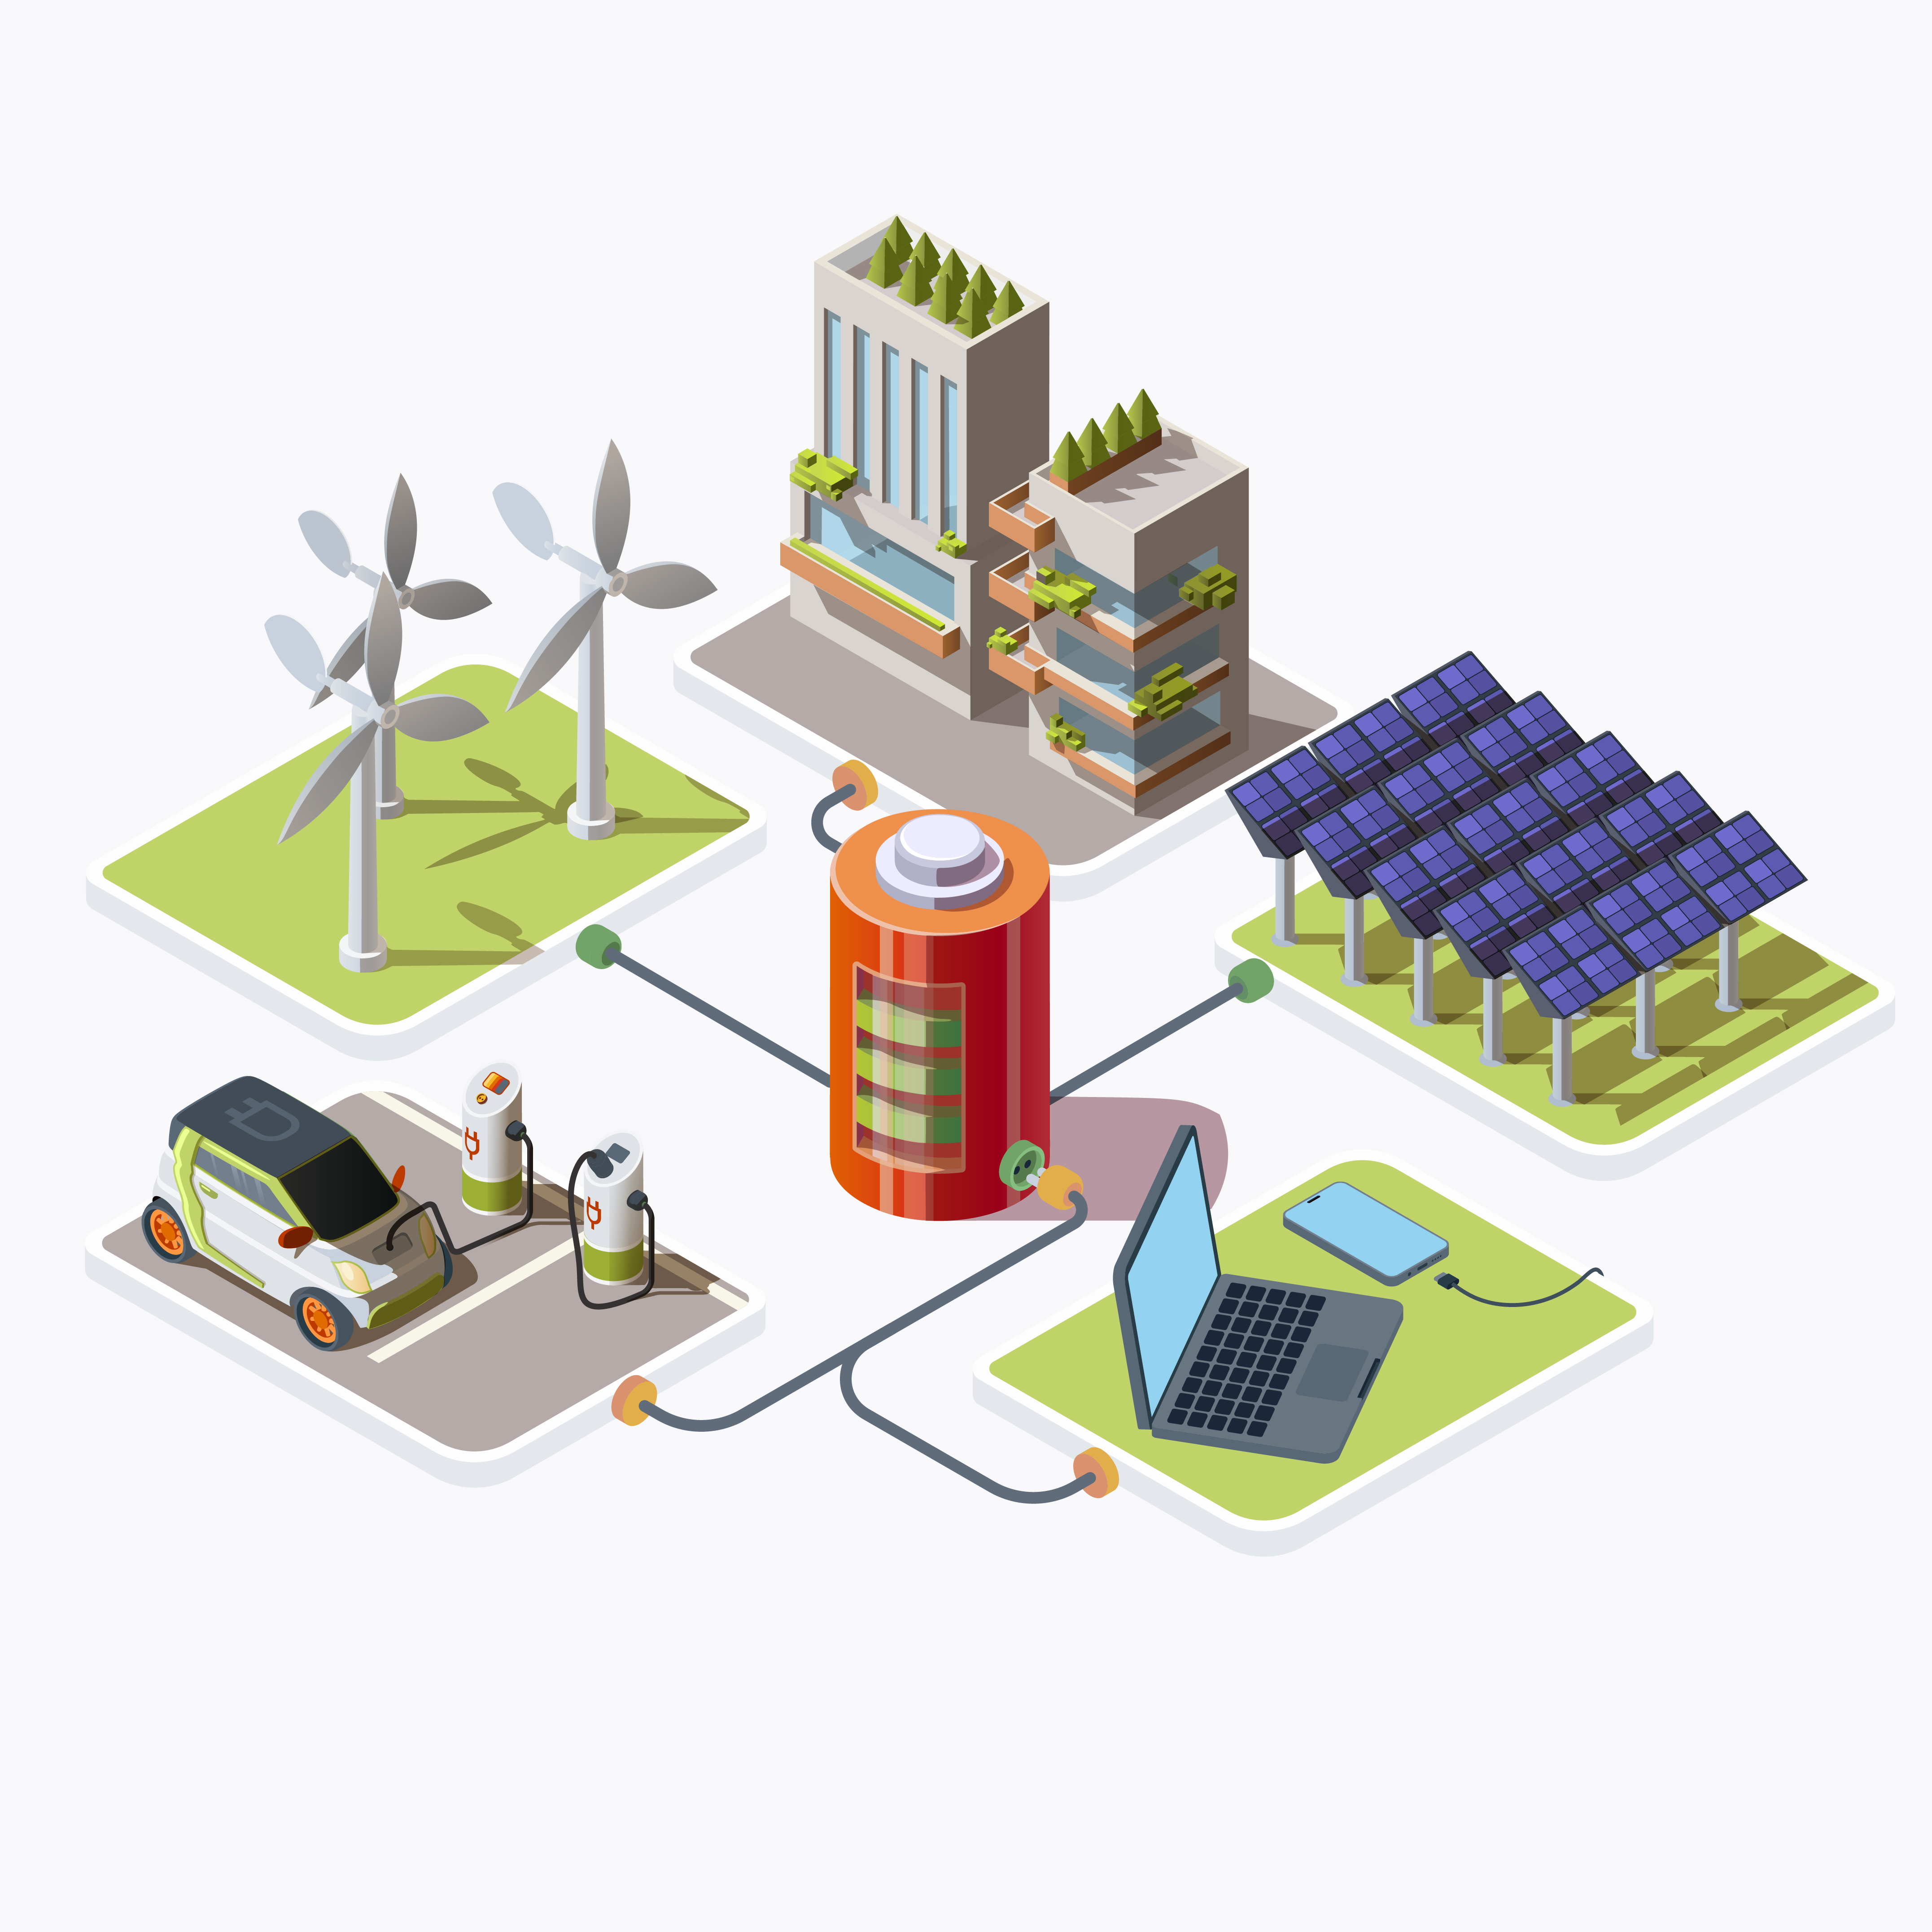
The core component of any solar panel system, solar panels consist of interconnected solar cells housed within a protective frame. These cells absorb sunlight and convert it into electricity. The inverter is responsible for converting the direct current (DC) electricity produced by the solar panels into alternating current (AC) electricity, which is suitable for powering household appliances and devices. In off-grid solar panel systems, batteries are used to store excess electricity generated during the day for use during periods of low sunlight or at night.
: The charge controller regulates the flow of electricity between the solar panels and the batteries, ensuring that the batteries are charged safely and efficiently. Before embarking on a DIY solar panel project, it’s essential to calculate your energy requirements to determine the size and number of solar panels needed. Factors such as household electricity consumption, available sunlight, and desired energy independence should be taken into account.
Preparing for DIY Solar Panel Installation
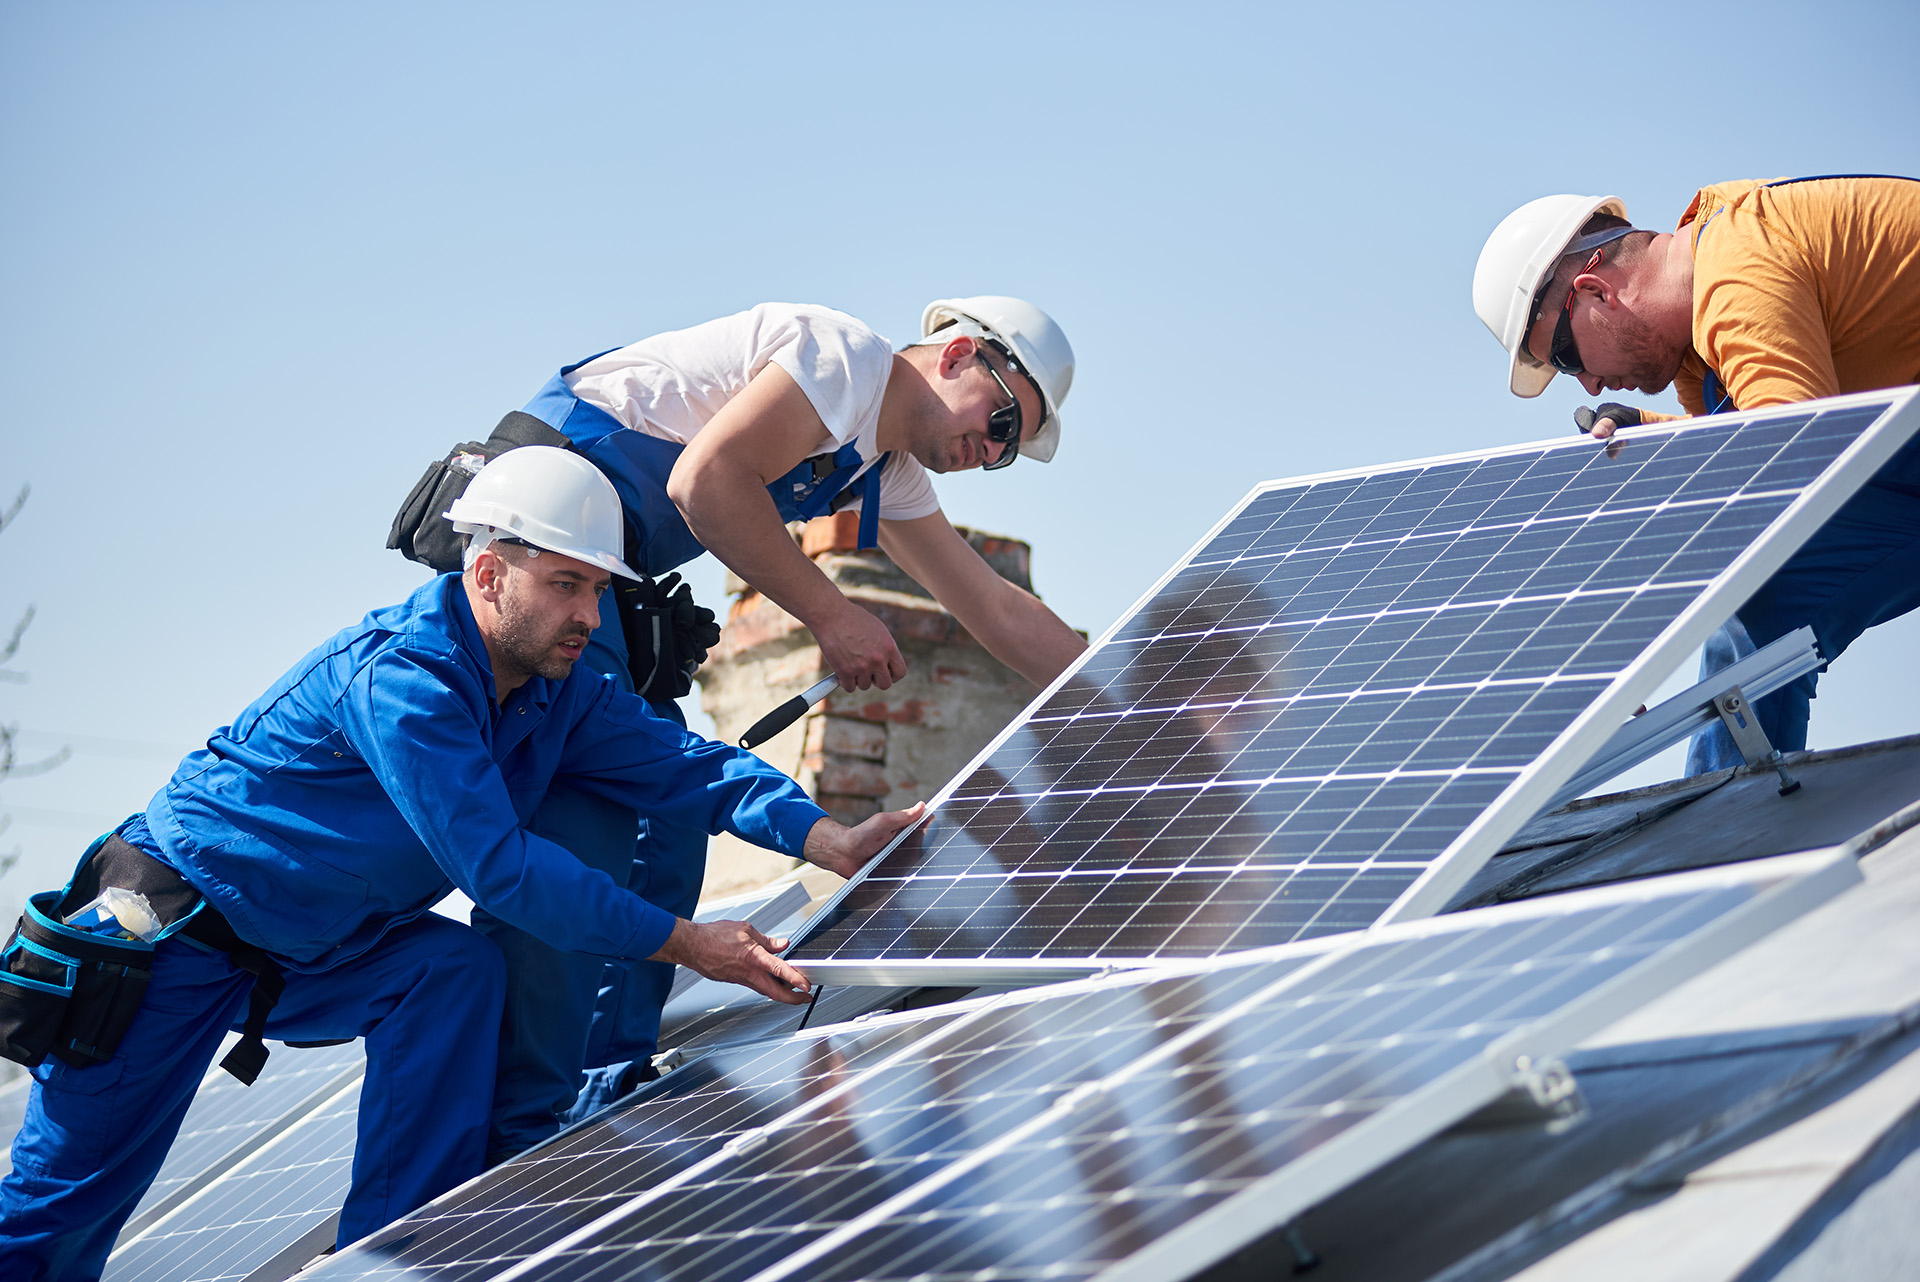
The effectiveness of a solar panel system depends largely on the amount of sunlight it receives. Before installing solar panels, assess your property’s available space and sunlight exposure. Ideally, solar panels should be installed on a south-facing roof or in an area free from shading obstacles such as trees or buildings.
Working with electricity and construction materials can pose hazards, so it’s essential to prioritize safety throughout the DIY solar panel installation process. Ensure that you have a clear understanding of electrical safety procedures and use appropriate personal protective equipment (PPE) to minimize the risk of accidents or injuries. The first step in building a DIY solar panel is constructing the panel frame. The frame provides structural support and protection for the solar cells. Common materials for panel frames include aluminum or steel, which are lightweight and corrosion-resistant.
Once the frame is fabricated, the next step is to wire the solar cells together to form a solar panel. This involves soldering tabbing wire to the front and back of each solar cell to create electrical connections. The cells are then arranged and connected in series or parallel to achieve the desired voltage and current output.
With the solar cells wired together, they are mounted onto the panel frame using silicone sealant or adhesive. Care must be taken to ensure that the cells are securely attached and properly aligned to maximize sunlight absorption. Once assembled, the solar panel is sealed and weatherproofed to protect it from the elements.
Testing the Panel’s Voltage and Current Output
Before installing the solar panel, it’s essential to test its voltage and current output to ensure that it is functioning correctly. This can be done using a multimeter or voltage tester to measure the electrical parameters of the panel under various lighting conditions. Once the DIY solar panels are constructed and tested, they can be mounted onto a suitable surface, such as a roof or ground mount. Care should be taken to position the panels at the optimal angle and orientation to maximize sunlight exposure throughout the day.
The next step is to connect the solar panels to the inverter, which converts the DC electricity generated by the panels into AC electricity for use in your home. This involves routing the electrical wiring from the panels to the inverter and making the necessary connections according to the manufacturer’s instructions.If you’re building an off-grid solar panel system, you’ll also need to install batteries and a charge controller to store and regulate the electricity generated by the panels. These components are typically installed in a battery bank enclosure and connected to the solar panels and inverter.
If you’re building an grid-tied solar panel system, you’ll need to connect the inverter to your home’s electrical panel to feed excess electricity back into the grid. This may require the services of a licensed electrician to ensure compliance with local regulations and safety standards.
To ensure optimal performance and longevity, DIY solar panels require regular cleaning and inspection. This involves removing dirt, debris, and any obstructions that may block sunlight from reaching the panels. Additionally, inspect the panels for signs of damage or wear and tear, such as cracked or dislodged cells, and address any issues promptly.
Troubleshooting Common Issues
Despite their durability, DIY solar panels may experience occasional issues that require troubleshooting. Common problems include reduced power output due to shading or soiling, electrical faults caused by loose connections or damaged components, and battery malfunctions. By systematically diagnosing and addressing these issues, you can maintain the efficiency and reliability of your solar panel system.
If a component of your DIY solar panel system becomes faulty or fails, it may need to be replaced to restore functionality. This could involve replacing individual solar cells, repairing damaged wiring or connections, or replacing the inverter or batteries. When replacing components, be sure to use compatible replacements and follow manufacturer guidelines for installation and operation.
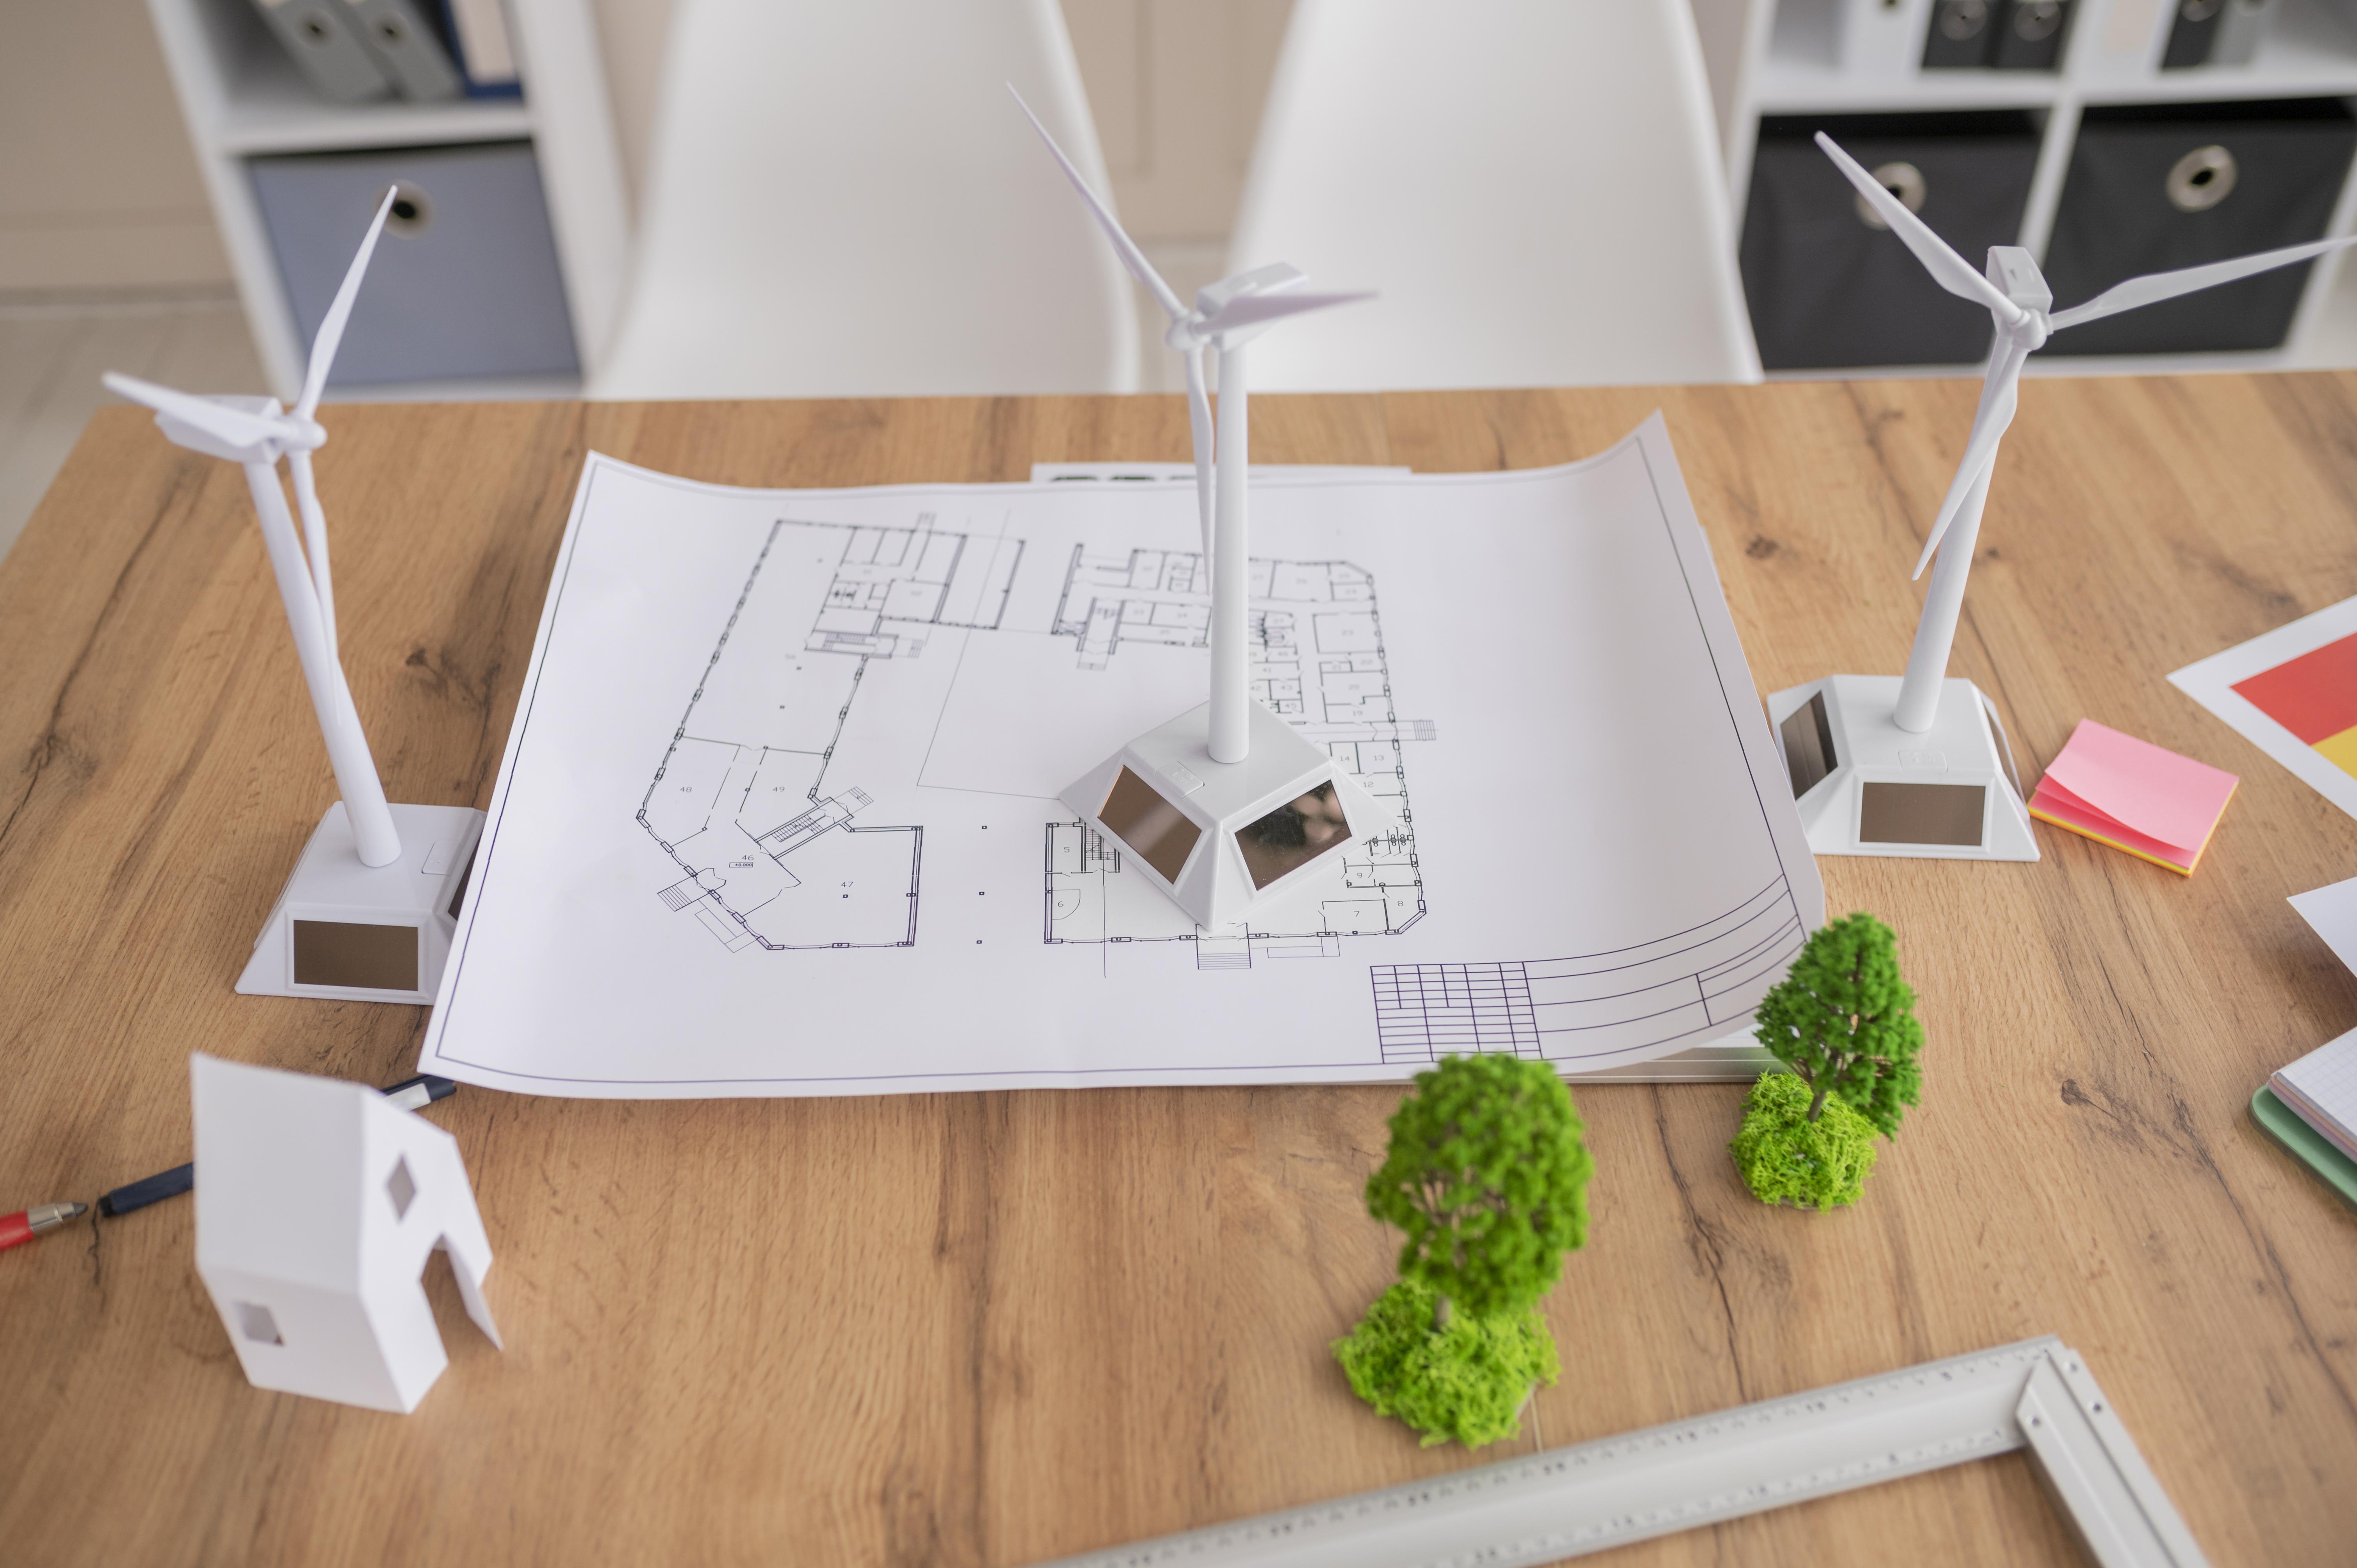
The efficiency of a solar panel system depends on factors such as panel orientation, tilt angle, and shading. By optimizing the placement of your DIY solar panels, you can maximize sunlight exposure and energy production. Tools such as solar irradiance maps and shading analysis software can help identify the best location for panel installation on your property.
For even greater energy production, consider incorporating solar tracking systems into your DIY solar panel setup. Solar trackers automatically adjust the orientation of the panels throughout the day to track the movement of the sun, ensuring that they receive maximum sunlight exposure at all times. While more complex and expensive than fixed-mount systems, solar trackers can significantly increase the efficiency of your solar panel system.
Implementing Energy Storage Solutions
In off-grid solar panel systems, energy storage solutions such as battery banks are essential for storing excess electricity generated during the day for use at night or during periods of low sunlight. By optimizing your battery storage capacity and charging efficiency, you can maximize energy independence and resilience, ensuring uninterrupted power supply even in adverse conditions.
Conclusion
DIY solar panels offer an accessible and rewarding way to harness the power of the sun and reduce reliance on conventional energy sources. By following the steps outlined in this guide and taking advantage of maintenance and optimization techniques, you can build and install a reliable and efficient solar panel system that provides clean, renewable energy for years to come. Embrace the opportunity to contribute to a more sustainable future while enjoying the benefits of energy independence and cost savings.
FAQS
What are the benefits of building DIY solar panels? Building DIY solar panels offers several benefits, including cost savings compared to purchasing commercial systems, customization options to meet specific energy needs, and the satisfaction of contributing to renewable energy generation. Additionally, DIY solar panels can be a rewarding educational experience, providing hands-on learning opportunities about solar technology and energy efficiency.
Are DIY solar panels suitable for all homes? DIY solar panels can be suitable for many homes, but certain factors should be considered before embarking on a project. Homes with adequate sunlight exposure, available roof space, and suitable electrical infrastructure are well-suited for DIY solar panel installation. Additionally, homeowners should assess their energy needs and budget to determine if DIY solar panels are the right choice for their situation.
What tools and materials are needed to build DIY solar panels? Building DIY solar panels requires a range of tools and materials, including solar cells, tabbing wire, flux pen, soldering iron, silicone sealant, aluminum frame materials, mounting hardware, and safety equipment such as gloves and safety glasses. Depending on the complexity of the project, additional tools and materials may be required, so it’s essential to research and plan accordingly before starting.
How much energy can DIY solar panels generate? The amount of energy generated by DIY solar panels depends on factors such as the size and efficiency of the panels, sunlight exposure, panel orientation, and local weather conditions. Typically, DIY solar panels can generate enough electricity to power essential household appliances and devices, but the exact output will vary from system to system. Homeowners can calculate estimated energy production using online solar calculators or consult with a solar energy professional for personalized advice.
What maintenance is required for DIY solar panels? DIY solar panels require regular maintenance to ensure optimal performance and longevity. This includes periodic cleaning to remove dirt, debris, and any obstructions that may block sunlight from reaching the panels. Additionally, homeowners should inspect the panels for signs of damage or wear and tear, such as cracked or dislodged cells, and address any issues promptly. Routine maintenance can help maximize energy production and extend the lifespan of DIY solar panel systems.