Table of Contents
ToggleIntroduction
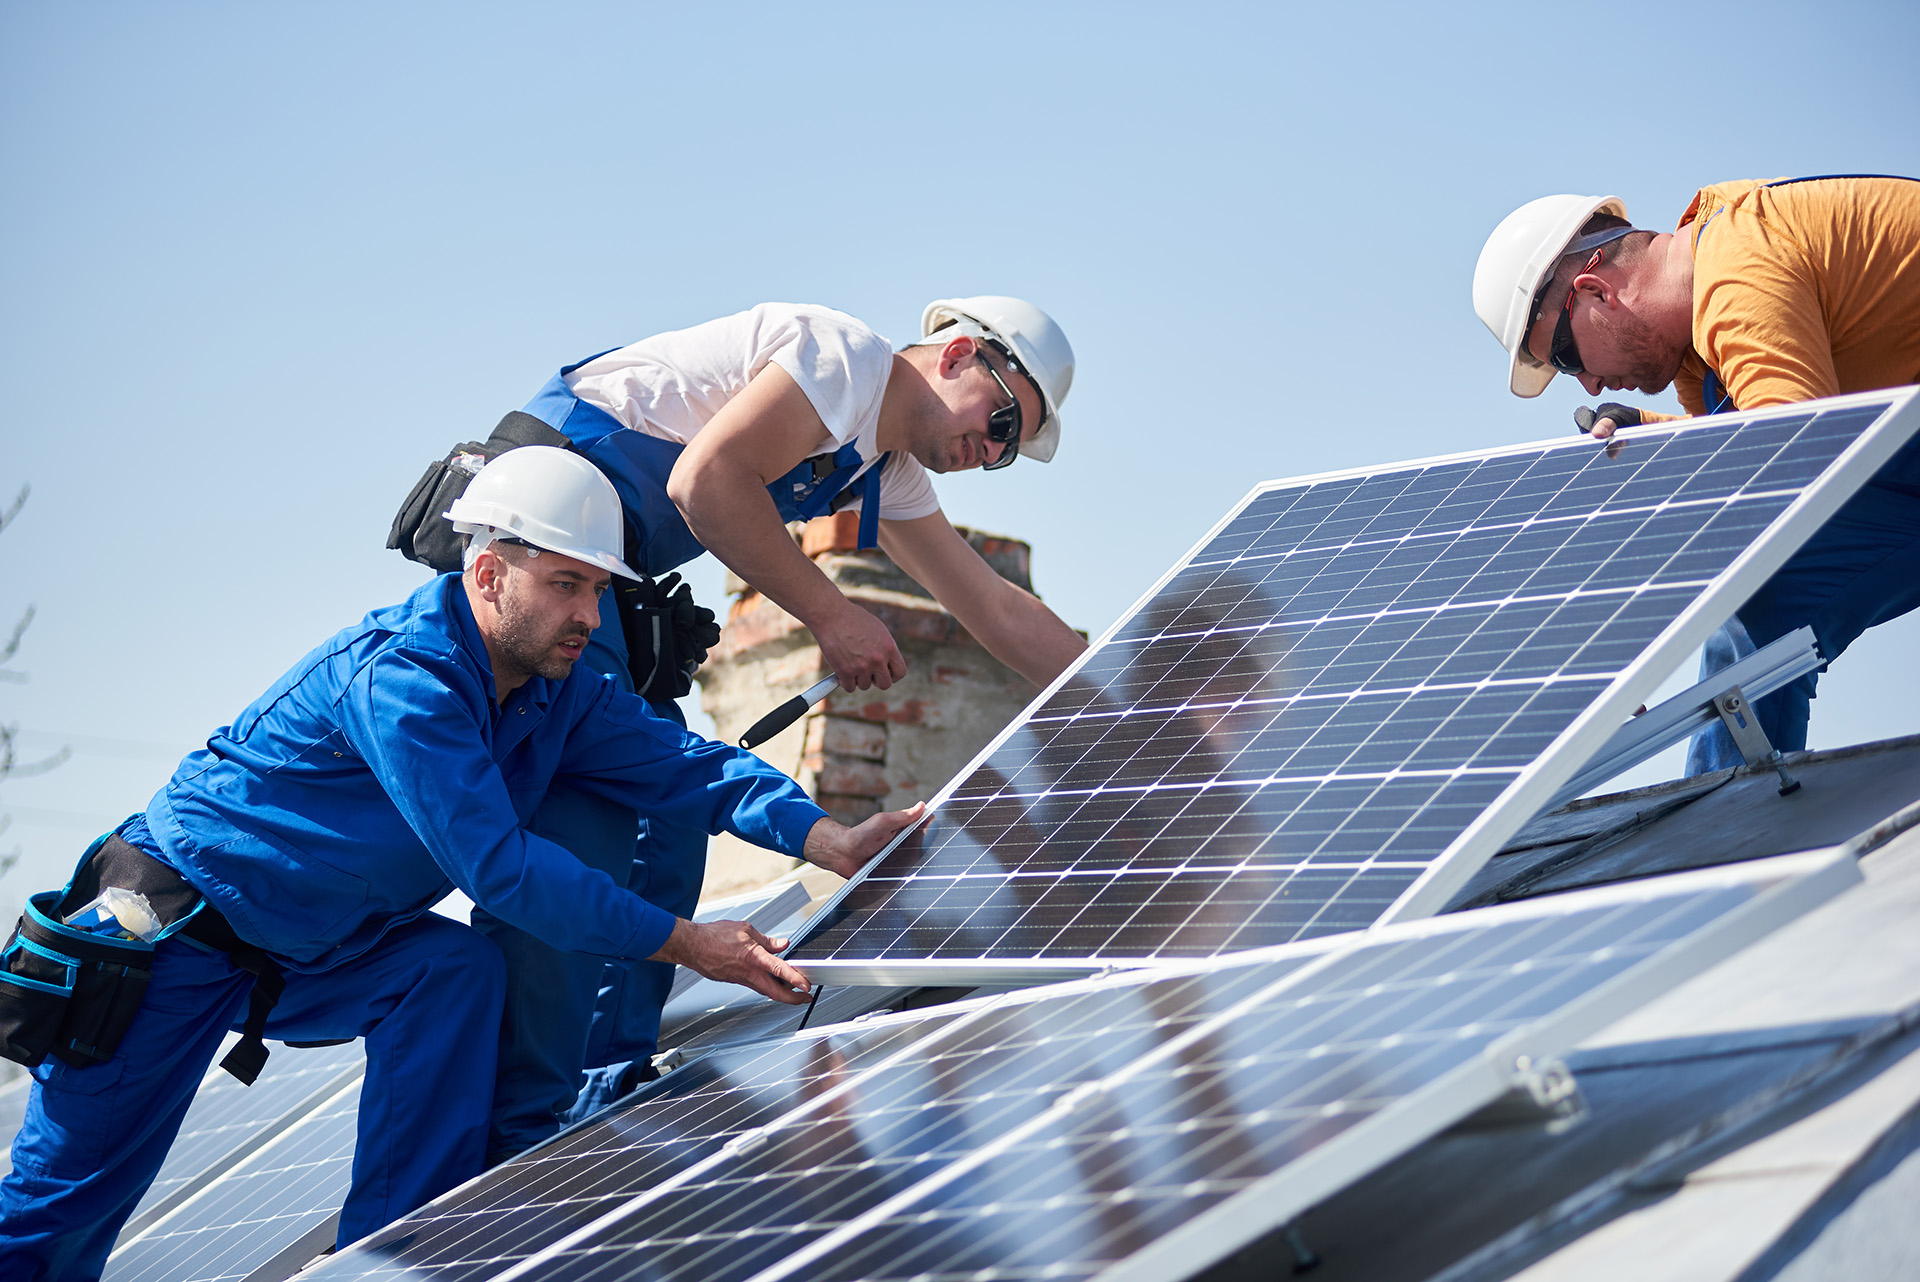
Looking to harness the power of the sun and reduce your reliance on traditional energy sources? Installing solar panels in your home is a sustainable and cost-effective way to generate clean energy. In this comprehensive guide, we’ll walk you through the step-by-step process of installing solar panels, from planning your project to connecting to your electrical panel. Whether you’re considering a DIY installation or hiring professionals, this guide will provide you with the essential knowledge and insights to make informed decisions and embark on your solar journey with confidence. Let’s dive in!
Timing Your Solar Panel Installation
Before diving into the installation process, it’s crucial to consider the timing of your solar panel installation carefully. Several factors can influence the ideal timing for installing solar panels on your home:Solar panel installations can be carried out throughout the year, but the timing may affect the efficiency and effectiveness of your system. Installing solar panels during the sunnier months, such as spring or summer, allows your system to generate maximum energy during peak sunlight hours. However, installations during the cooler months can also be advantageous, as cooler temperatures can improve the performance of solar panels.
Before installing solar panels, it’s essential to assess the condition of your roof. If your roof requires repairs or replacement, it’s best to address these issues before installing solar panels to avoid complications or damage to your system. Additionally, installing solar panels on a new roof can ensure the longevity and stability of your solar installation. The timing of your solar panel installation may also be influenced by financial considerations, such as available incentives, tax credits, and financing options. Researching available incentives and tax credits in your area can help you maximize your savings and offset the initial cost of installing solar panels. Additionally, exploring financing options, such as solar loans or leases, can make solar panel installation more affordable and accessible.
Assessing your current and future energy needs can help determine the optimal size and configuration of your solar panel system. If you’re planning to increase your energy consumption in the future, it may be beneficial to install a larger solar panel system to accommodate your needs. Conversely, if your energy needs are expected to decrease, a smaller system may suffice.It’s essential to familiarize yourself with your utility’s policies and regulations regarding solar panel installation and net metering. Understanding your utility’s policies can help you navigate the interconnection process and ensure that your solar panel system meets all regulatory requirements.
By considering these factors and carefully timing your solar panel installation, you can maximize the benefits of solar energy and ensure a smooth and successful installation process. Whether you’re looking to reduce your carbon footprint, lower your energy bills, or increase your energy independence, installing solar panels on your home is a sustainable and rewarding investment.
Step-by-Step Guide to Solar Panel Installation
Installing solar panels on your home is a rewarding endeavor that can provide numerous benefits, including reduced energy bills, increased property value, and environmental sustainability. To help you navigate the installation process smoothly, we’ve broken down the steps into a comprehensive guide:
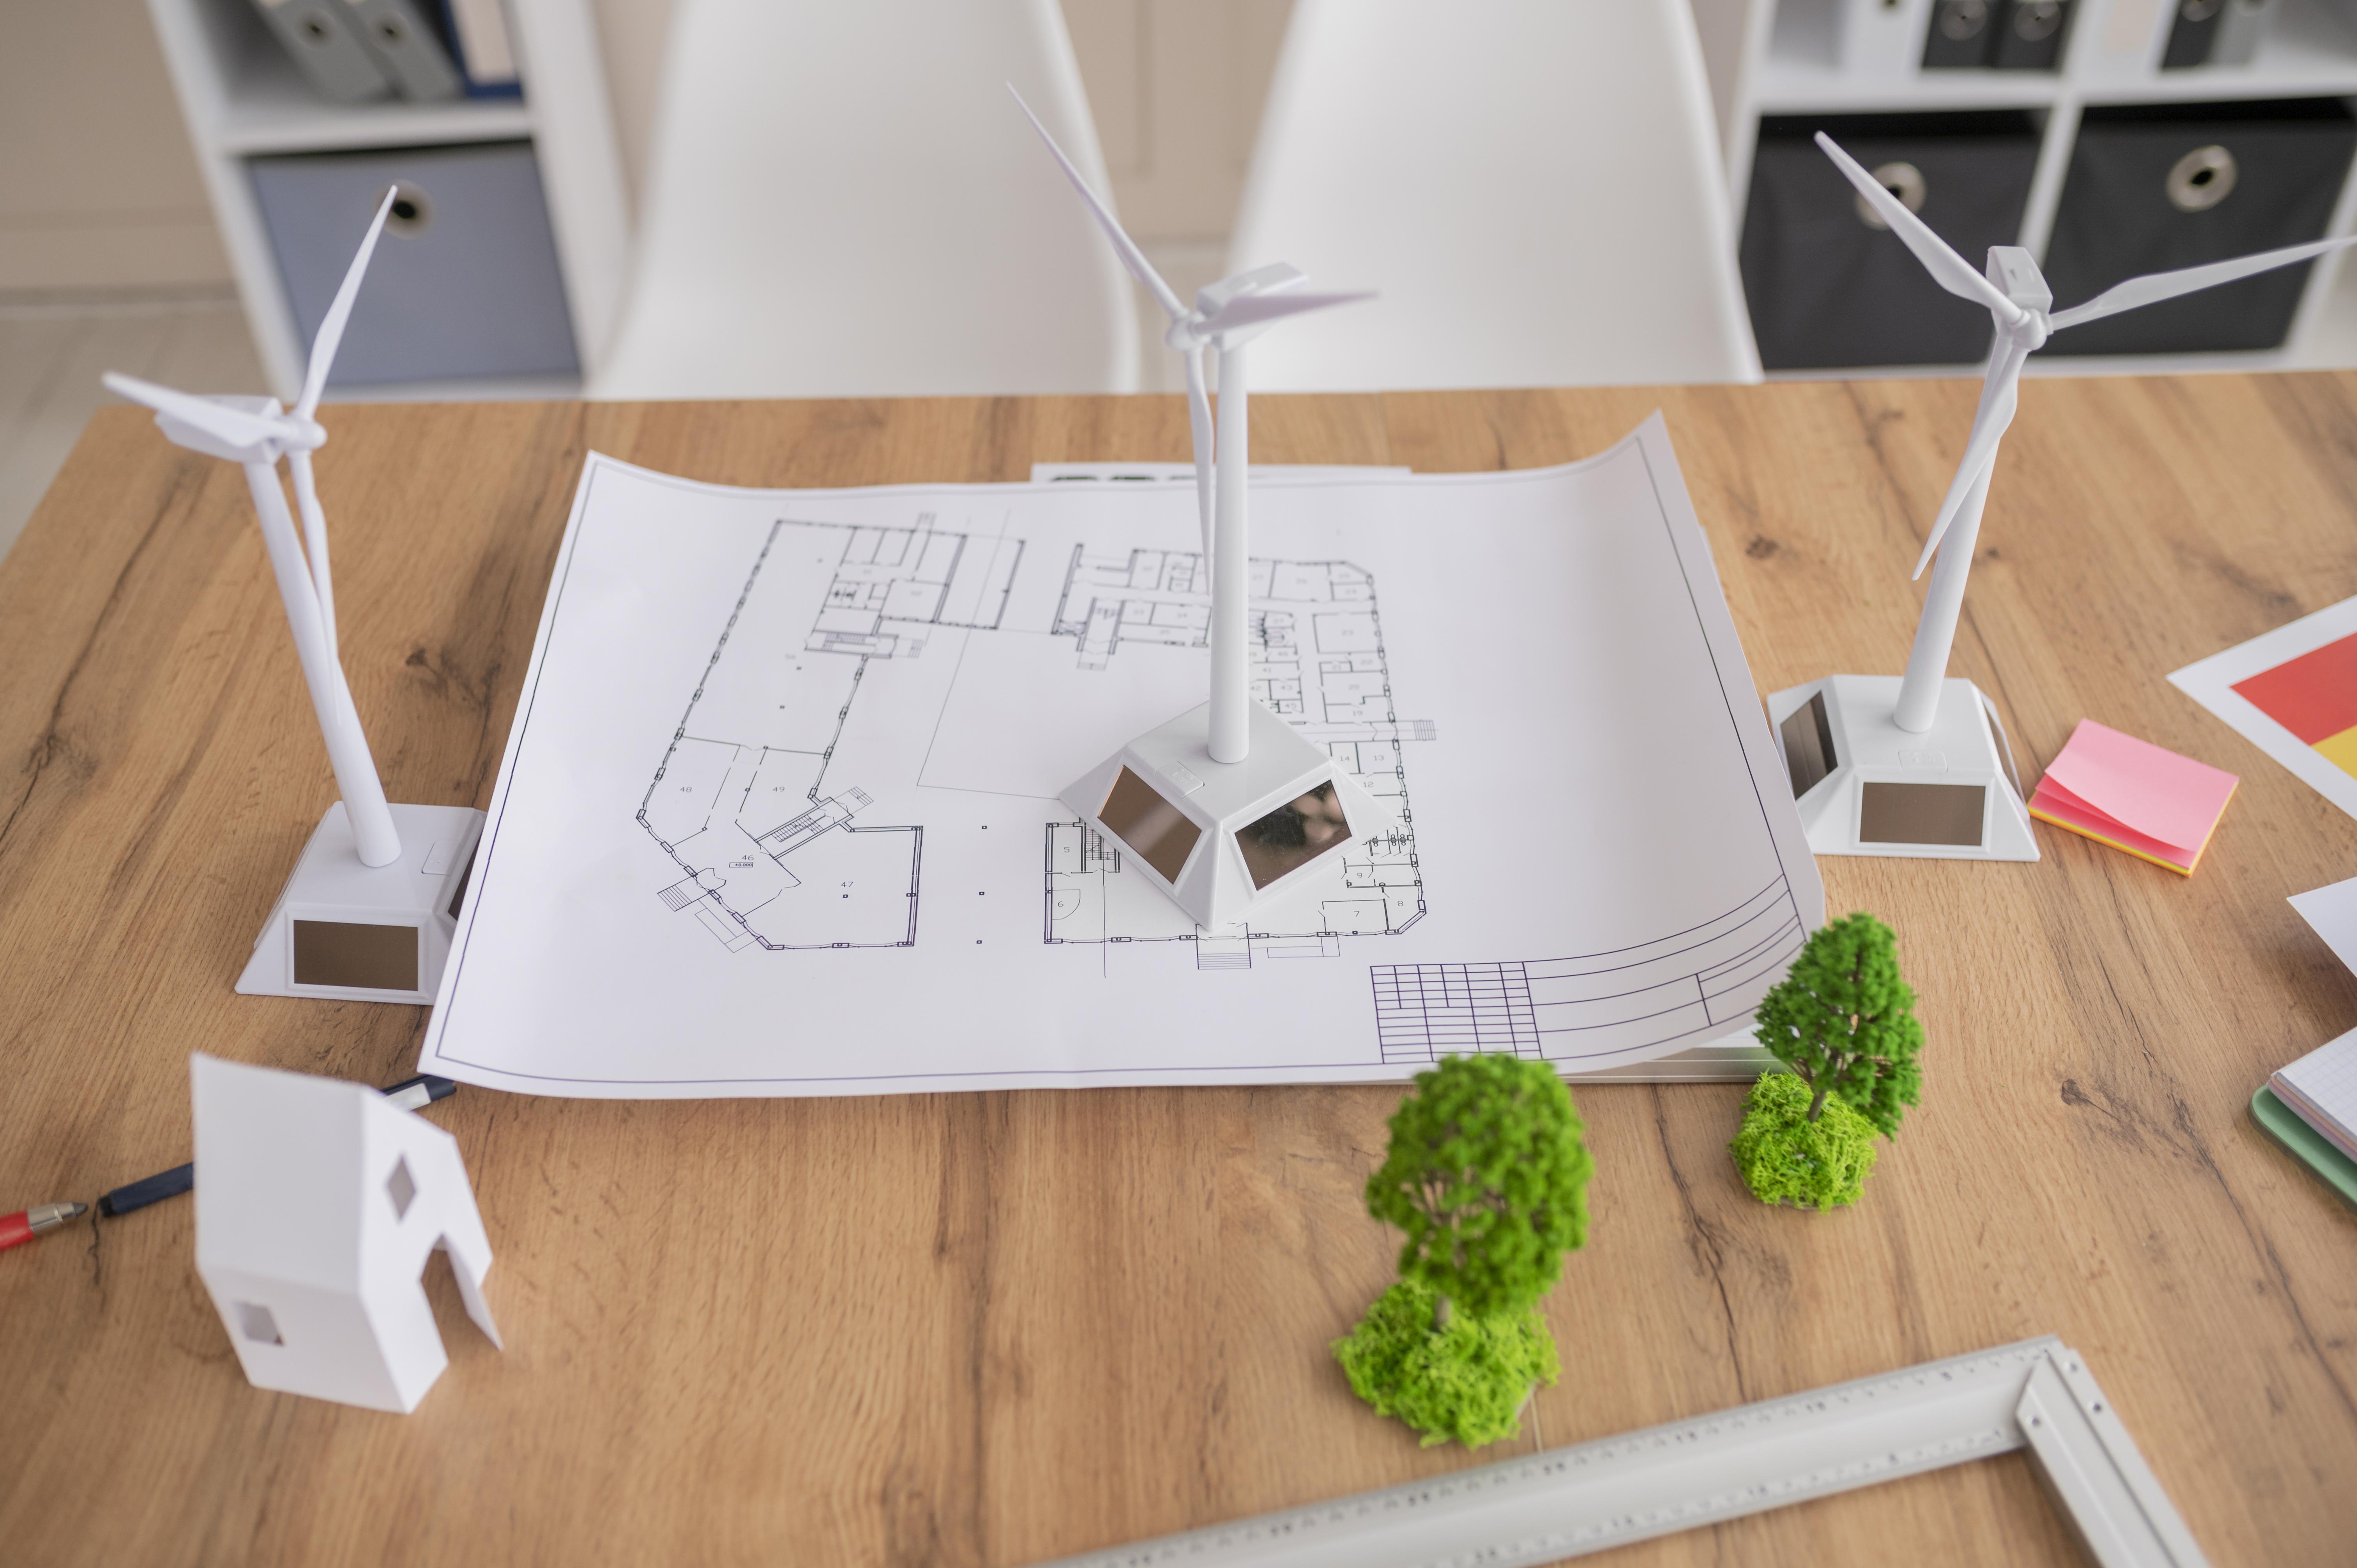
Before diving into the installation process, it’s essential to plan your solar project carefully. This includes:Assess your property’s suitability for solar panel installation, considering factors such as roof orientation, shading, and structural integrity.Determine your current and future energy needs to size your solar panel system appropriately.Research and obtain any necessary permits and approvals from local authorities before starting your installation.Explore available incentives, rebates, and tax credits to maximize your savings on solar panel installation.Familiarize yourself with safety protocols and equipment to ensure a safe installation process.
Gather all necessary materials and equipment for the installation, including solar panels, racking systems, inverters, and electrical wiring.Ensure you have the necessary tools for the installation, including drills, wrenches, screwdrivers, and safety equipment.Once you’ve completed the planning phase, it’s time to start the installation process. The first step is installing the racking system, which provides structural support for the solar panels. This involves:Attaching the racking system to the roof securely, following manufacturer instructions and local building codes.Ensuring proper spacing and alignment of the racking system to accommodate the solar panels.Securing the racking system in place using bolts or screws to prevent movement or damage.
Installing the Solar Panels
With the racking system in place, it’s time to install the solar panels themselves. This involves:Mounting the solar panels onto the racking system, ensuring proper alignment and orientation for optimal sunlight exposure.Connecting the solar panels to each other and to the racking system using mounting brackets or clamps.Securing the solar panels in place to prevent movement or damage during operation.
The heat sink is an essential component of the solar panel system that helps dissipate excess heat generated during operation. This involves:Mounting the heat sink onto the back of the solar panels, ensuring proper contact and alignment.Connecting the heat sink to the solar panel system using thermal paste or adhesive to facilitate heat transfer.The charge controller regulates the flow of electricity from the solar panels to the battery bank, preventing overcharging and damage. This involves:Mounting the charge controller in a suitable location near the solar panels and battery bank.Connecting the solar panels and battery bank to the charge controller using appropriate wiring and connectors.Configuring the charge controller settings to optimize battery charging and system performance.
If you’re using a battery backup system, it’s essential to install the solar battery next. This involves:Mounting the solar battery in a secure location, following manufacturer instructions and safety guidelines.Connecting the solar battery to the charge controller and inverter using appropriate wiring and connectors.Testing the solar battery to ensure proper operation and functionality.The power converter (or inverter) converts the direct current (DC) electricity generated by the solar panels into usable alternating current (AC) electricity for your home. This involves
Installing the Energy Meter
An energy meter monitors the electricity generated by your solar panel system and tracks your energy usage. This involves:Mounting the energy meter in a suitable location near your electrical panel.Connecting the energy meter to your solar panel system and electrical panel using appropriate wiring and connectors.Configuring the energy meter settings to accurately monitor your energy production and usage.
Once all components are installed, it’s essential to connect the solar panel system to your home’s electrical wiring and complete a thorough inspection. This involves:Connecting the power converter and energy meter to your home’s electrical panel using appropriate wiring and connectors.Conducting a comprehensive inspection of the entire solar panel system to ensure proper installation and functionality.Testing the system to verify that all components are operating correctly and safely.
The final step in the installation process is connecting your solar panel system to your home’s electrical panel. This involves:Installing a dedicated circuit breaker for the solar panel system in your electrical panel.Connecting the solar panel system to the dedicated circuit breaker using appropriate wiring and connectors.Testing the connection to ensure proper operation and safety.By following these step-by-step instructions, you can successfully install solar panels on your home and start enjoying the benefits of clean, renewable energy. Whether you choose to tackle the installation yourself or hire a professional, proper planning and execution are essential for a successful solar panel installation.
Installing the Solar Battery
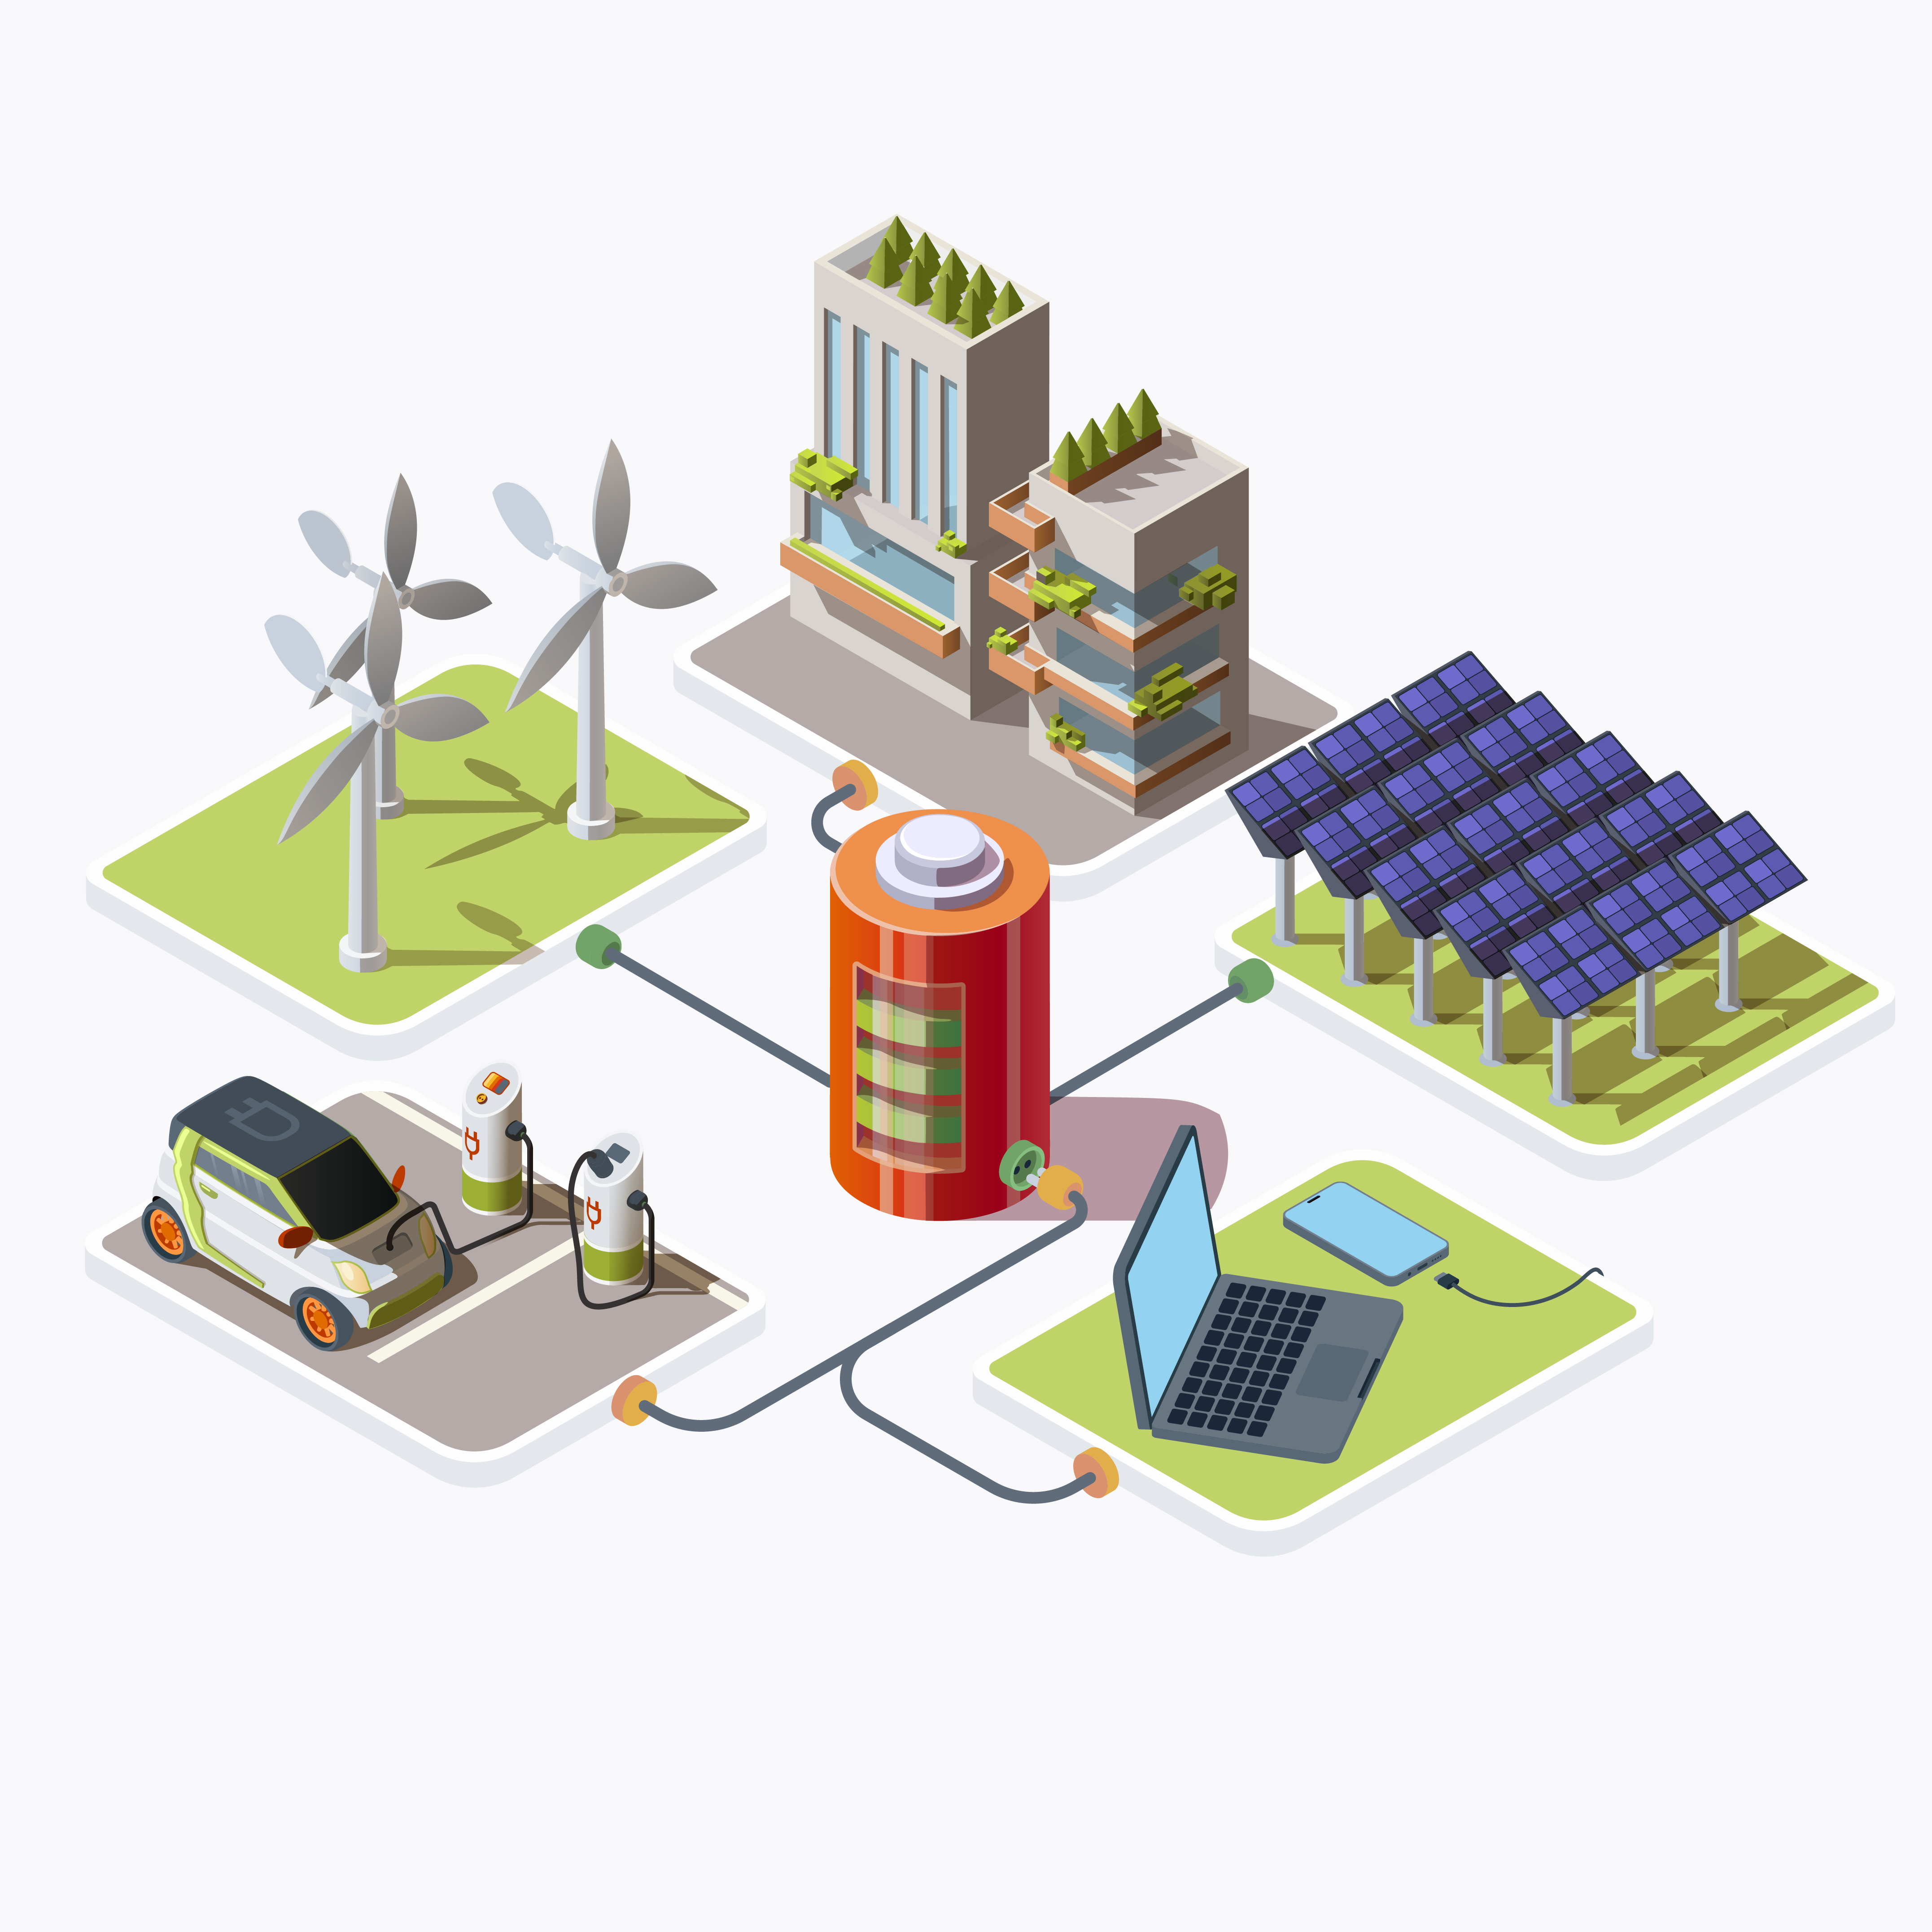
The installation of a solar battery is a crucial step in creating a reliable and efficient solar energy system. Solar batteries store excess energy generated by solar panels during the day for later use, allowing homeowners to maximize their energy independence and reduce reliance on the grid. Here’s a detailed guide on how to install a solar battery:
Before proceeding with the installation, it’s essential to understand the role and function of solar batteries within the solar energy system. Solar batteries store surplus electricity generated by solar panels, enabling homeowners to utilize solar energy during periods of low sunlight or at night. This stored energy can power essential appliances and devices, providing backup power in the event of grid outages.
Choosing the appropriate solar battery is crucial to the success and efficiency of your solar energy system. Factors to consider include battery capacity, voltage compatibility, cycle life, and depth of discharge. Additionally, you’ll need to decide between different types of batteries, such as lead-acid, lithium-ion, or flow batteries, each offering unique advantages and considerations.
Before installing the solar battery, it’s essential to prepare the installation site and ensure all necessary components are in place. This may include clearing the area of debris, ensuring adequate ventilation and space for the battery, and verifying compatibility with the existing solar energy system and electrical infrastructure. Once the installation site is prepared, the next step is to mount the solar battery securely in place. This may involve wall mounting, floor mounting, or rack mounting, depending on the design and specifications of the battery. It’s crucial to follow manufacturer guidelines and safety protocols to ensure proper installation and stability.
With the battery securely mounted, it’s time to connect it to the solar energy system. This involves wiring the positive and negative terminals of the battery to the corresponding terminals on the charge controller or inverter. Care should be taken to ensure proper polarity and secure connections to prevent any potential hazards or malfunctions. After the physical connections are made, it’s essential to configure the settings of the solar battery to optimize its performance and compatibility with your solar energy system. This may include setting charging parameters, discharge limits, and other battery management settings to maximize efficiency and longevity.
Installing the Power Converter
In the realm of solar energy systems, the power converter, also known as the inverter, plays a pivotal role in transforming the direct current (DC) electricity generated by solar panels into usable alternating current (AC) electricity for your home. Installing the power converter is a crucial step in ensuring the efficient and reliable operation of your solar energy system. Here’s a detailed guide on how to install the power converter:
Before proceeding with the installation, it’s essential to understand the role and function of the power converter within the solar energy system. The power converter converts the DC electricity generated by solar panels into AC electricity, which is compatible with the electrical wiring and appliances in your home. Additionally, the power converter may include features such as grid synchronization, voltage regulation, and safety monitoring to optimize performance and protect your electrical system.
Choosing the appropriate power converter is critical to the success and efficiency of your solar energy system. Factors to consider include the power rating, voltage compatibility, waveform type, and efficiency of the converter. Additionally, you may opt for either a string inverter, microinverter, or power optimizer, each offering unique advantages and considerations depending on your system requirements and preferences.
Before installing the power converter, it’s essential to prepare the installation site and ensure all necessary components are in place. This may include selecting a suitable location for the power converter, ensuring proper ventilation and clearance, and verifying compatibility with the existing solar energy system and electrical infrastructure. Once the installation site is prepared, the next step is to mount the power converter securely in place. This may involve wall mounting, floor mounting, or rack mounting, depending on the design and specifications of the converter. It’s crucial to follow manufacturer guidelines and safety protocols to ensure proper installation and stability.
Once the power converter is installed and configured, it’s crucial to test its functionality and performance under various operating conditions. This may include monitoring voltage and frequency levels, grid synchronization, and overall system performance to verify proper operation and identify any potential issues or adjustments needed. Regular maintenance and monitoring of the power converter are essential to ensure continued reliability and performance of your solar energy system. This may include periodic inspections, firmware updates, and performance checks to detect any anomalies or degradation in performance and address them promptly to maintain optimal functionality.
Conclusion:
Installing solar panels is a significant investment that requires careful planning, preparation, and execution. By understanding the process and working with a reputable solar installer, you can ensure that your solar panel installation is done safely, efficiently, and effectively. If you have any further questions or concerns about solar panel installation, don’t hesitate to consult with a professional installer for guidance and assistance.
FAQ
Can I install a solar panel system myself?
While it’s technically possible to install a solar panel system yourself, it’s not recommended unless you have the necessary expertise, experience, and equipment. Solar panel installation involves complex electrical work, structural modifications, and compliance with local regulations. Hiring a professional solar installer ensures that the installation is done safely, correctly, and in compliance with industry standards.
How do I install solar panels step-by-step?
Solar panel installation typically involves several steps, including site assessment, system design, permitting, equipment procurement, installation, inspection, and commissioning. Each step requires careful planning, coordination, and expertise to ensure a successful installation. Hiring a professional solar installer simplifies the process and ensures that all steps are completed correctly and efficiently.
How many solar panels does it take to power a house?
The number of solar panels needed to power a house depends on several factors, including the size of the house, the energy consumption of the household, the efficiency of the solar panels, and the available sunlight. A professional solar installer can conduct a site assessment and energy audit to determine the optimal size and configuration of a solar panel system to meet your specific needs.
How do I hook up solar power to my house?
Hooking up solar power to your house involves connecting the solar panel system to your electrical panel or distribution board. This connection allows solar-generated electricity to be distributed throughout your home and integrated seamlessly with your existing electrical system. It’s essential to hire a qualified electrician or solar installer to ensure that the connection is made safely, correctly, and in compliance with electrical codes and regulations.